Barry’s New Shirt

Hello blog world 🙂

I felt an urge to make contact with you all 😂

We’ve been confined to barracks because of Barry’s health issues but really it’s not been so bad

Barry has been working throughout and mostly staying his upbeat happy self

I’ve been nurturing plug plants in the greenhouse and they’re almost ready to be put into the many pots and baskets in my possession, this is an early photo, they’re much bigger and more colourful right now

I need to wait for the tulips to finish showing off though, they’ve been spectacular!
These parrot tulips are a particular favourite

I feel so privileged to have a garden to escape into right now 🌈

Anyhow….I was going to tell you about the shirt that I recently made for Barry

We bought the fabric years ago, Barry was with me at the time and he spotted the fabric. Sadly the bricks and mortar shop is no more but it’s still available online and has the occasional pop up shop. https://www.buttonupandstitch.co.uk/

These tricky times have given me a deeper need for creativity…the first few weeks of lock down were particularly trying for me, I felt unsettled and not able to concentrate on much. I kept starting a project and then moved on to another. I’ve been doing a lot of baking and a lot of eating 😱. Our freezer is full! I’ve made rainbow paper hearts for the window..I really love them

I’ve tidied up the garden out the front now…

Last week I decided I needed to sew something that would really keep my mind occupied. So many things going on in my life right now which are out of my hands. I’m trying to just take things one step at a time and deal with what has to be dealt with as and when. It’s easier to write that than actually do it though 🤔

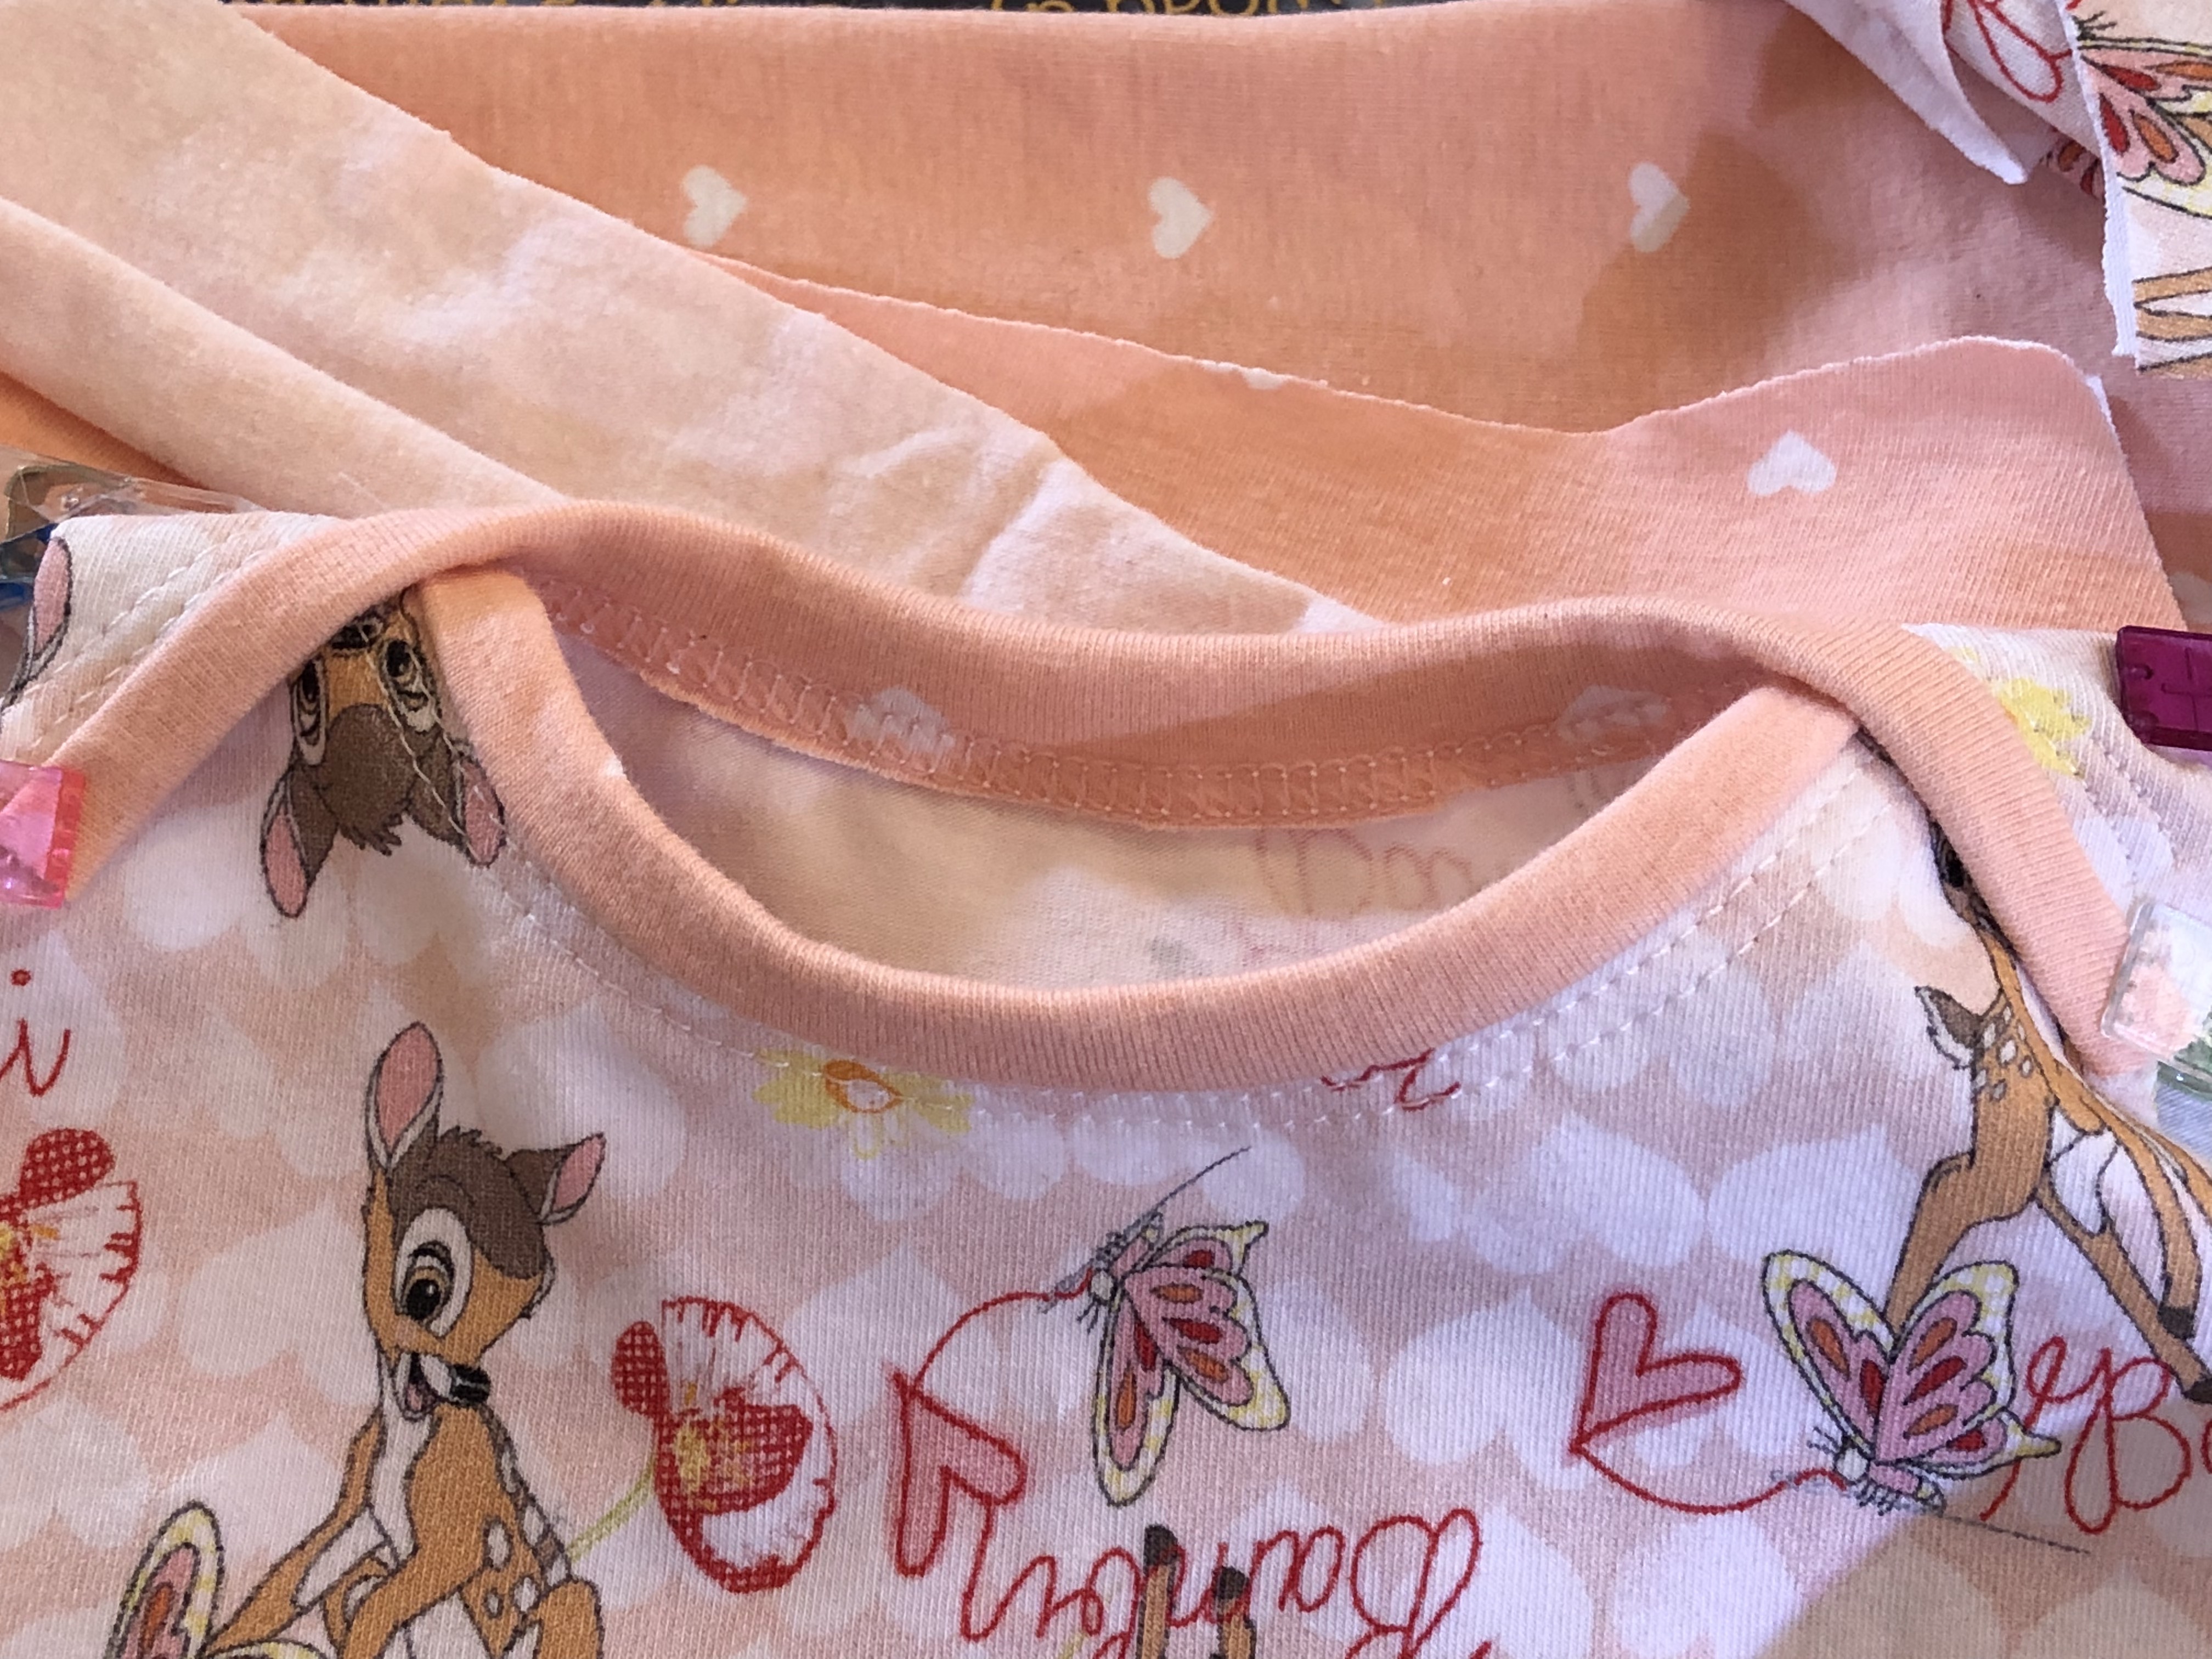
So, I had a look through my fabric stash and came across the Classic Cruisers fabric. It had already been washed in preparation for sewing. Seeing the fabric made me remember that I’d been promising to make another Party shirt for Barry for at least a couple of years…remember this one from 2014?

He needed another one and I needed something challenging to sew

I decided on the Colette Negroni Shirt pattern, I’d bought that pattern a few years ago.. I love the construction…

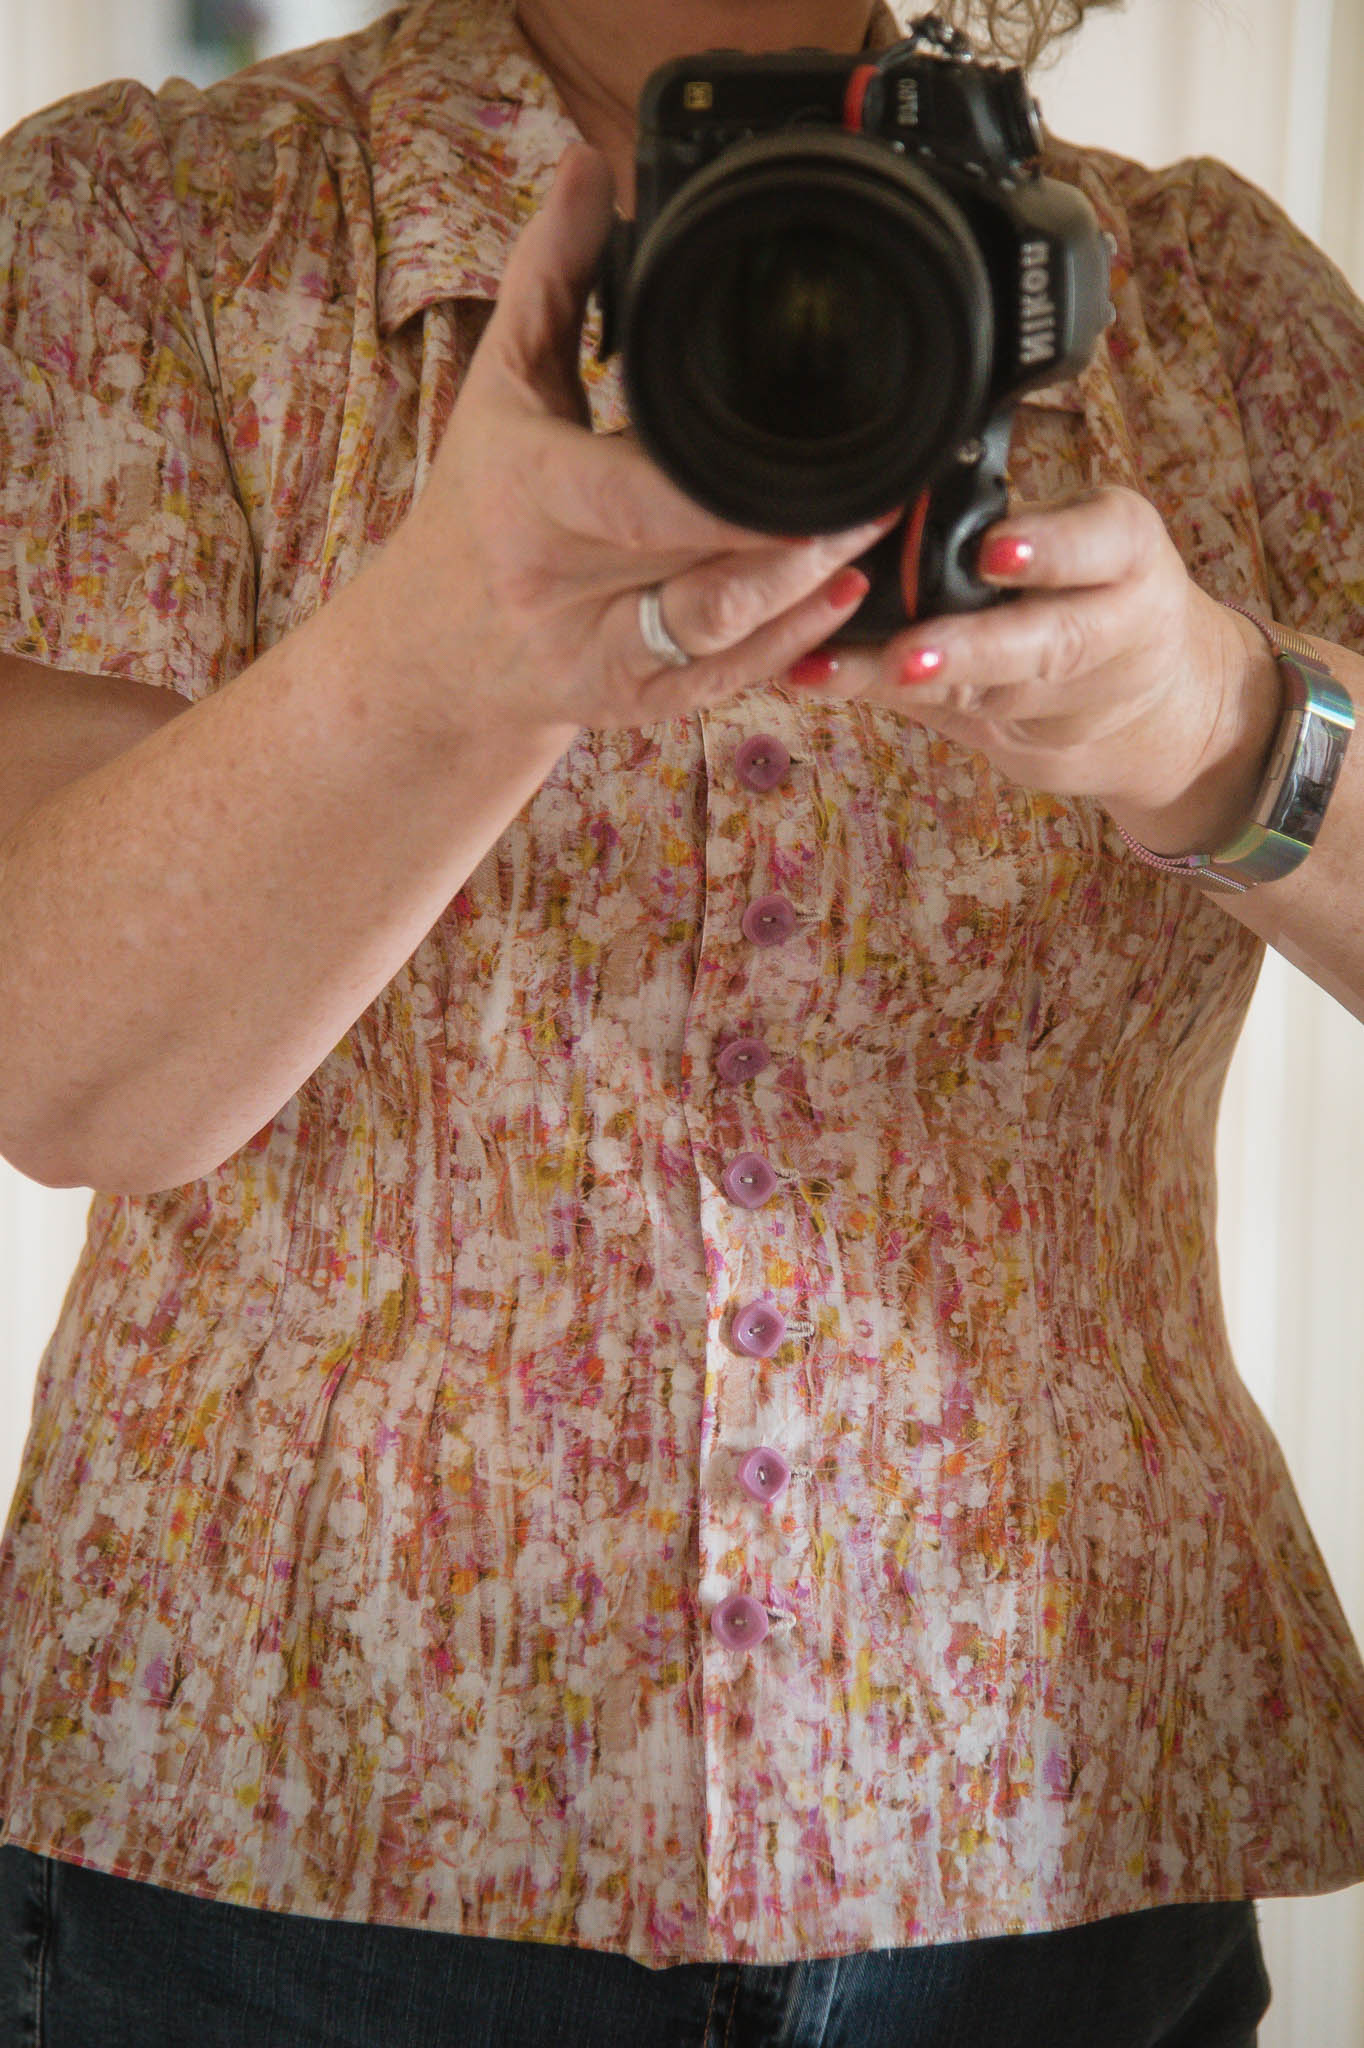
Pattern matching on the pockets and centre fronts nearly blew my mind but I think I’ve done an ok job

There’s 2 pockets, the pockets are meant to have flaps too but I don’t think I could have pattern matched anything else 🤯

This shirt was completely sewn on my Vintage Singer Featherweight including the buttonholes. I used the fabulous buttonhole attachment that was sent to me from America by a very generous and kind sewing friend 😍 Buttonholes on my modern machines aren’t a patch on the consistently perfect buttonholes this vintage attachment produces

I didn’t need to overlock any of the seams as the pattern explains how to create perfect flat fell seams

I love sewing at the dining room table but I do make a lot of mess! Think I like being near to Barry right now. The Featherweight is a quiet machine and he doesn’t mind me sewing in the background. I’m not sewing into the evenings though, I don’t have a much stamina as I used to have…

All in all this was a brilliant diversion for my overthinking brain and I’m keen to make him another but in a plain coloured linen, I’m a bit pattern matched out for a while 😂

He loves his new shirt…

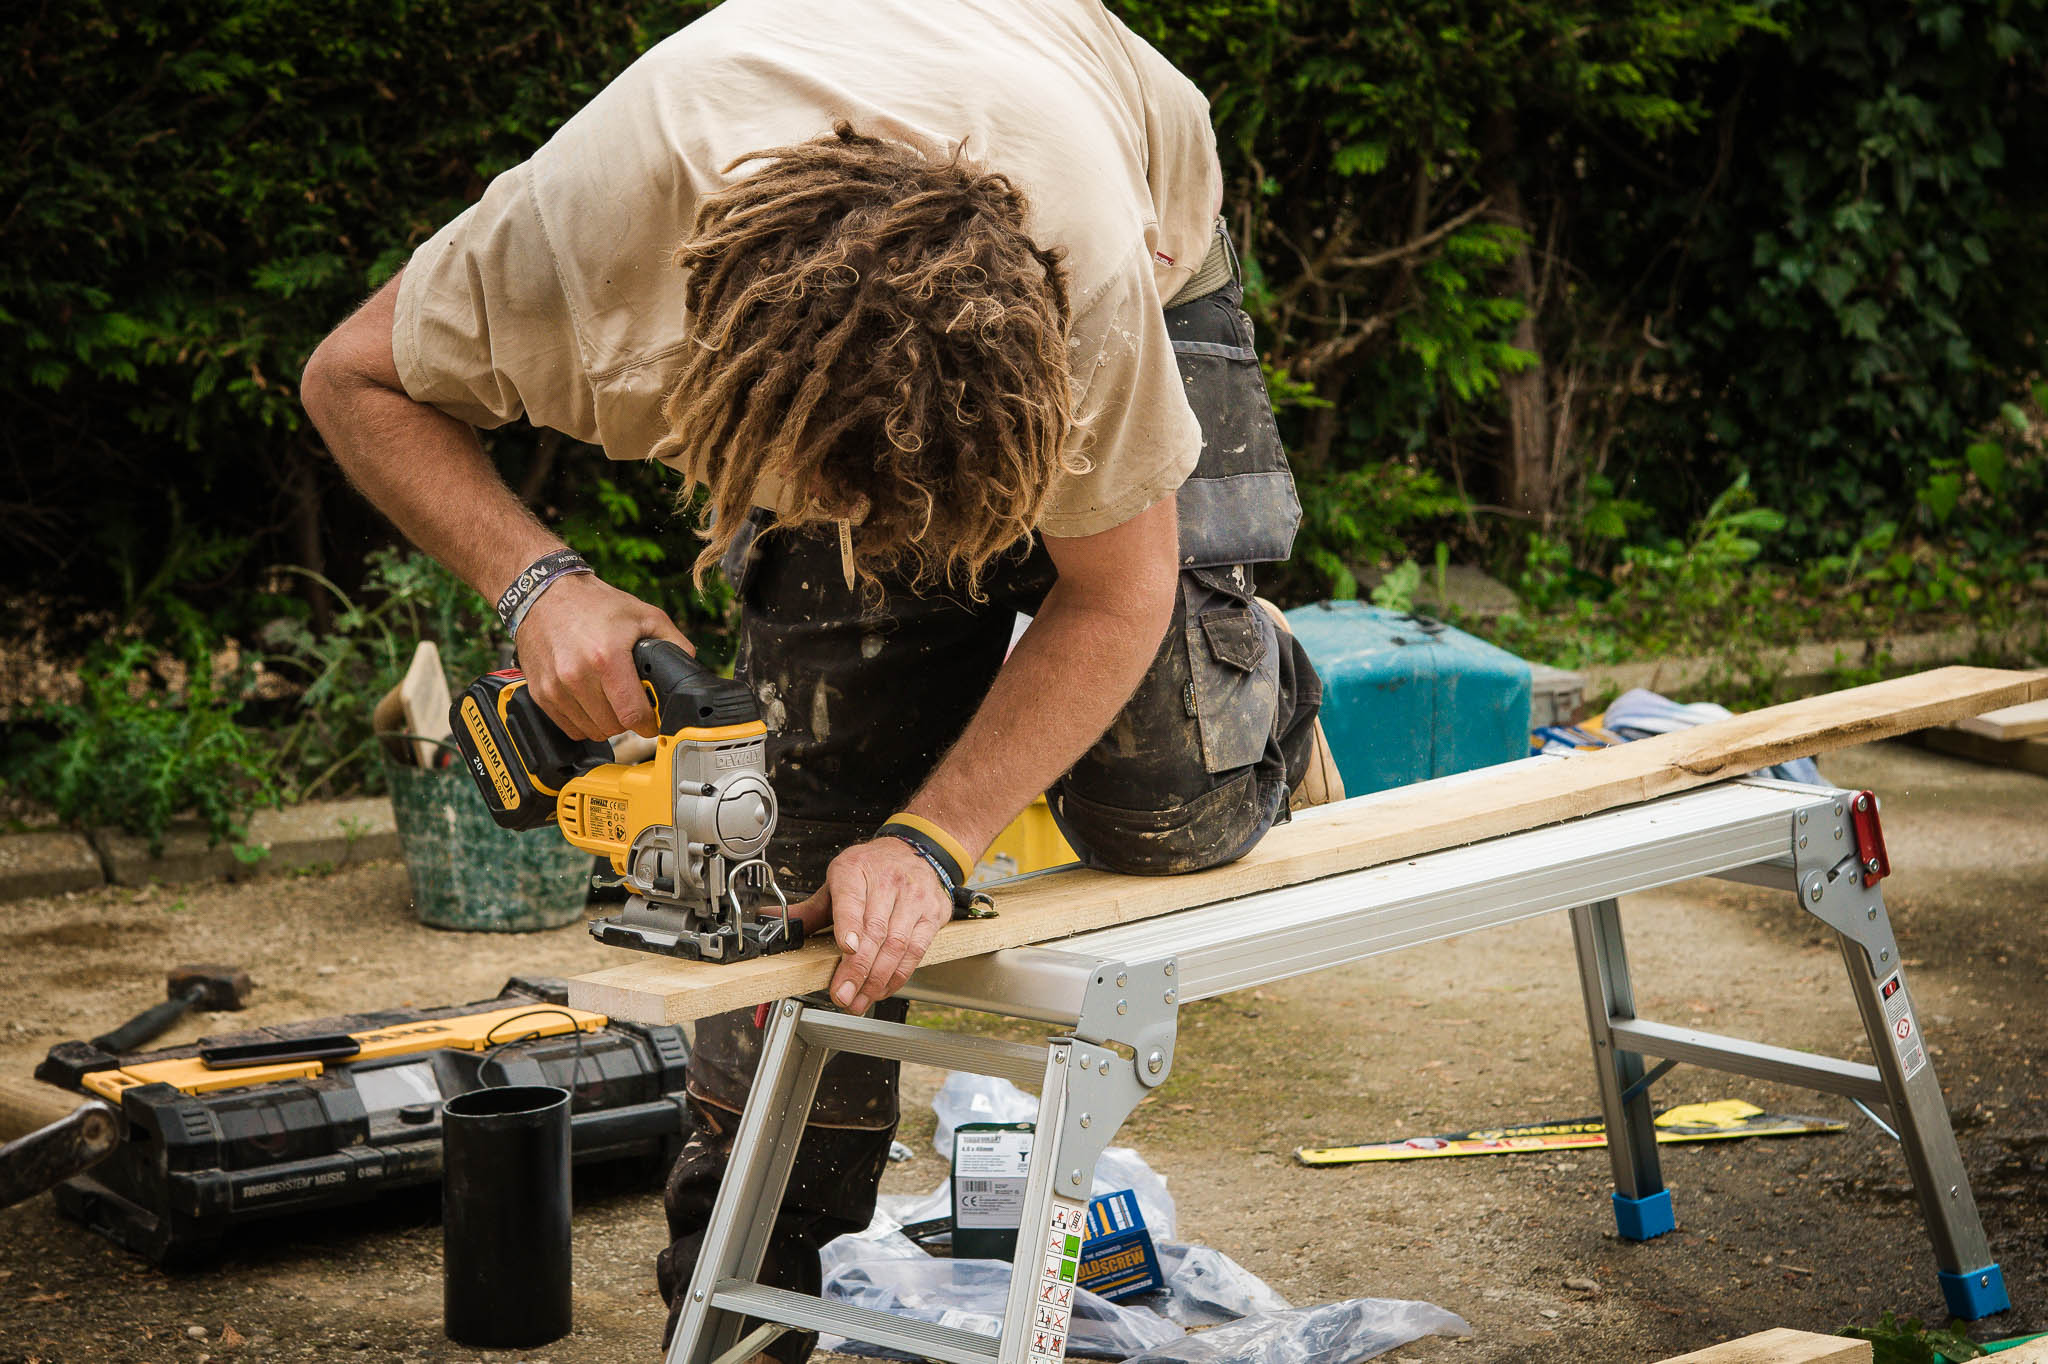
My next project might be to give him a haircut! 😂😂

One of the contestants on the latest episode of the Sewing Bee used this pattern…what a coincidence that I made a shirt this week too. I wonder if I can second guess them for next week? 🤔

Some live plants have just been delivered so I’m off to play in the greenhouse

Thinking of you all in these unusual and trying times

Lots of love

Marianne x

Posted in Uncategorized | 4 Comments

Wee Braw Bags and Woppet Bucket Bags

I have been so enjoying sewing up these pretty project bags

Choosing the fabrics is a real pleasure for me

I’m selling them as quickly as I’m making them

And getting orders as I show them off on my Facebook page and instagram

I’m on the look out for more clever bag designs in a similar vein to these, if any of you know about a happy project bag pattern, I’d love it if you’d share it with me

This neat piping effect really pleases me..

My husband is away with work for a few days so I am sewing up a storm..erm…that’s a great description of the mess I’m making too. I’ll tidy it up soon, but probably not until I’ve stopped sewing the orders

Wonder what I’ll be sewing next?

I love how my little Singer Featherweight handles bag sewing with ease…

That photo is my own design..it’s a very large project bag with a roomy zip pocket divider. The Big Popper!

And these last photos are of my Ultimate Interchangeable Needle Tip Organiser

The construction of that clever bag took hours of thought and maths… I love how useful it is, an iPad air fits beautifully inside it too

The photo above is off the closed organiser and a Poppet Project bag, another of my designs…

I’ll leave you with some photos of a gorgeous Sunrise Saddle Bag using waxed canvas and quilting weight cotton by Kaffe Fassett for the lining

The design is by Dog Under My Desk…it’s a lovely design to sew, as are all of Erin’s designs

That’s all for now…I think I need a lie down 😂

Marianne x

Posted in Uncategorized | Leave a comment

Binding a Jersey Neckband

I keep being asked how I do the binding on the necklines of my jersey sewn items

this particular little t-shirt caused a lot of interest!

I took a few photos today of the binding process as I was sewing a dinky little newborn dress today

The dress is by Max And Meena and is called The Maritime Dress

Anyway, for the binding, I apply 1.5″ strips of fabric, gently stretched. Right sides together and overlocked in place with 4 threads and the width on my Babylock Evolution set to 4.5

I find this width of binding gives me something to get hold of when I’m stitching it in place after folding it to the wrong side

I then lift the strip up and over the overlocked edge and clip in place with wonderclips

Then I change my settings on my overlocker to Cover Stitch using needless 2 & 3 so I can get as close to the binding as possible. I also use my lovely narrow Cover stitch foot which sits neatly up against the stitching line of the binding

The cover stitching secures the binding in place on the wrong side

A similar effect could be achieved with a twin needle. I’ve never tried a twin needle though, erm, that’s not strictly true, I did put one in my sewing machine once, and promptly broke that needle with the first stitch! Never tried it again lol

Or how about using the 3 step zigzag stitch on your sewing machine instead of the cover stitching?

After the cover stitching is done I trim off the excess binding close to the stitching, paying particular attention so I don’t cut the stutches

I find this method works well for most of the garments that need either a neck or sleeve binding

I usually work with fabrics with a good stretch across the width containing some lycra

There’s one layer less fabric using this method and it seems to lay flatter too. Particularly good for baby garments

Posted in Overlocker, Serger, sewing | Tagged , , , , , , | 4 Comments

Vogue 9293

My husband is working away in Australia at the moment.
I’ve been taking advantage of the extra time and trying to make the ‘missing him’ feelings go away by decluttering our cottage and sewing

I spent yesterday sewing this lovely dress, having cut it out the day before. There was a time when I could cut out and sew a dress in one day! Well one evening and into the small hours as my 4 children kept me busy in the daytime 🙂

Just 6 pattern pieces which went together beautifully

I chose the size that matched my bust measurement and the only alteration that I had to do was to make the back neck a bit narrower
which is something I need to do with most patterns that use a woven fabric

I also made my own bias binding which I love to do if I have enough fabric available

Highly recommend this pattern!

I used a lovely light cotton poplin fabric with a slight stretch from 1st for Fabrics

Hope you’re enjoying the sunshine, I know I am…​ ​

It’s hard to see but the bodice crosses over…I love the neat fit of this dress and it has pockets!!!

I’ll include a photo of the pattern so you can see the shape of it

I feel this is a pattern that I’ll use a few times….

It’s my sewing group this afternoon, I need to get my project together or I’ll be twiddling my thumbs all afternoon!

Posted in sewing | Tagged , , , | 4 Comments

Amelie Blouse

I am off to the Sewing Bee Live on the 21st September and felt the need to sew this pretty, 1930s inspired blouse by Now & Then. If I like it then I might even wear it to the show

I’ve only had the fabric and pattern a year. I bought it from Kirstie’s Handmade Fair. I’m hoping the designer will be at the Sewing Bee live this year

I am about to cut into it!

Liberty Tana Lawn, almost silk like cotton fabric, it’s lovely

I measure 41″ around my bust so I’ve decided to cut out the size 14 for my smaller shoulder and then taper into the size 16 for my bust and waist

After measuring the pattern pieces I’ve decided to cut out a size 14 altogether. Hope I don’t live to regret it (I didn’t)
Usually, with vintage patterns I need to cut out at least a size 16, but the allowances for our more rounded figures these days have already been added to the design. Even the size 14 was a generous fit

I folded the back piece in half and cut it on the fold…I’ve got this thing about cutting out a single layer, it always worries me, don’t know why.

I’ve also taken to using my rotary cutter to cut out my patterns pieces, resorting to scissors on the fiddly bits

This is going to be an ‘all things vintage’ garment … one of my favourite things is this tailor marker. I should have filled the bobbin with tacking thread but I was in a hurry so just popped in any old bobbin and the silky thread tended to fall out of the fabric so I ended up doing the tailor tacks by hand using good old tacking thread. I’m going to wind a few bobbins of the tacking thread for future use, the tailor marker is a wonderful thing that isn’t made any more

I sewed the back to the yoke as per the instructions but the fronts I added using the ‘baguette’ technique. This is a good tutorial, although the Amelie blouse has gathers. I bet they would have loved to have used this technique in their sewing years ago

One of the things I noticed on the pattern is that we’re not told to trim the seam allowance and notch the curves, it’s important to do this in order to get the collar to lay flat

one very important step if you’re doing the double pointed collar, is to snip into the seam allowance to the small dot, it simply wouldn’t work without this step 🙂

I love how everything looks so neat on the inside of the blouse

at this stage, I put the blouse away as I was going to my sewing group the next day and wanted to do some more sewing there

I was using my beautiful Vintage Singer Featherweight machine to sew this blouse. It seemed appropriate somehow

The side seams were sewn with french seams

I didn’t take any photos at sewing group, but I sewed the pretty sleeve detail of a boxed pleat which gives a soft flutter effect, you’ll see later

I used a singer zigzag attachment that I was also gifted by another generous friend on Facebook. I prefer to use my overlocker but I wanted to sew the whole blouse on my Featherweight

Using the tiny rolled hem foot produced the most perfect narrow hems on the sleeves and the bottom of the blouse

I couldn’t believe my luck when I found the most perfect vintage buttons in my stash…. I love the soft purple.

I even made the buttonholes using my Featherweight. I very lovely person in the Featherweight Facebook group sent me the buttonhole attachment, I am so lucky, it works beautifully

I love the rounded ends of the buttonholes, aligning them is a bit hit and miss as I’m still learning. I started at the bottom of the blouse and worked up towards the top. As I progressed towards the top I noticed the improvement.

As you can see, the blouse fits very well…still not convinced I look ok in it though

love the little flutter of the sleeves

The front tucks sit neatly below the bust, not quite this high as I was holding the camera out of the way but you can see what I mean

I put the blouse back on the manikin for the last few photos

Such a pretty sleeve

It is such a lovely blouse, the pieces all went together perfectly, a joy to sew

I hope I can get to feel the love for wearing this blouse

I have got some heavy aubergine coloured linen and want to make these lovely trousers with it…then of course I might need new shoes! Although, I’ll be doing a lot of walking at the Sewing Bee Live so I don’t really want to be wearing heels…maybe I’ll just wear something else!!

I’m off into the garden now,  to dig out a few more weeds from our front garden….it’s nice and sunny out there for five minutes

I really want to do more sewing though 🙂

Posted in sewing | Tagged , , , , , , , | 4 Comments

New Wall and Gate

It’s been a long time coming but last week this happened

then on Monday this week two lovely lads came and quickly started building the wall

The bricks were transported into position by wheelbarrow

Thanks Richard, for the photo, silly me forgot to take a before shot!

They worked quickly! At the end of day one, I realised that the wall was going to be too high, so in the morning I mentioned this to the boys and they agreed so it was decided that 3 rows of bricks less would look best

PS this is part way into day one, the foundations were already there for a double skinned wall (I think that’s the correct terminology)

We have plenty of work to do, wish these weeds would give up!!

Steve applying the top layer of Engineering bricks

meanwhile….

Richard is constructing the gate

Nice boots…I thought they’d make a decent pair of planters!

Nice smile from Richard 🙂

This reminds me of Peter Pan!

Two happy builders! They’re a great team

When we’ve saved up some more money, they’re coming back to sort out the driveway and replace the decking, I can’t wait!!

The other side of the gate

We are delighted with our new wall and gate…who’d have thought that these changes would bring so much joy!

Thank you Richard & Steve, it was a pleasure having such happy workmen in my garden!

Now the hard work begins….garage doors first I think!

You can get in touch with Richard via his Facebook Page

Posted in garden | Tagged , , , , , | 3 Comments

I’m still doing something

Goodness me it’s been such a busy year!

I recently had 4 of my delicious Grandchildren to stay and we had a lot of fun!

The three eldest all made at least one item using my Vintage Singer Featherweight sewing machine

We made cakes

We went to the cinema

We went to the play area

We visited Peckover House

Here’s a photo of Sullivan after he tried on an outfit there

I loved how he embraced the moment, couldn’t get Millie or Maddie to dress up this year though 😦

You can see all my photos from our visit to Peckover House here

And you can see photos from my phone here, we were very busy and very happy and I spent a lot of time in the kitchen!

I’m missing them now but I have made Esme a new dress…hope it fits! It was a special request from Esme before she left, she gave me a list!

It’s the Nori Wrap Dress by EllieDactyl

I also made one of these dresses for little Josie

Here she is is giving me a twirl! Love her little red nose, she decided that she needed to stamp her face when we arrived 🙂

I’m also knitting myself a jumper using some of the most delicious yarn that I’ve ever touched

The design is Natsumi and you can read about it here

My version will hopefully be looser and longer

The construction is clever…knitted sideways, I’m well into the neck shaping where you work with 2 balls of yarn at the same time

love the cables which go across the front and the back

The luxurious yarn is called Opus and I bought it from Fine Fettle Fibres after lusting after the red jumper that Judith posted about in her newsletter

Time to go and do some more crafting now…well after I’ve tidied up a bit x

Posted in family | Tagged , , , , , | 2 Comments

Today’s Photoshoot

It’s been a while…I know, I really have had the most busy year so far and it is still feeling a lot busy

This week I am taking advantage of a ‘no appointment’ week and photographing everything that I have created for my shop

Today I photographed this little lot

yesterday I photographed even more than this but they need editing

If you’d like to see the fluff in individual bigger photos then you can see them in this album

Tomorrow I will photograph all my bags…I have so many and there will be some exciting bargains to be had as I need the space!! (so I can make more bags lol)

This one is proving popular

It’s a small cross body bag that is slim enough to wear under a jacket without making you look a funny shape haha

It has a handy card pocket inside

If you’d like me to make you one of these bags then do get in touch

It measures 8″ across the widest part and 10″ from the top to the bottom

I can also make it right or left handed!

PS If you want to make your own version of this bag then here’s a link to the pattern 

Back to the photos now x

Posted in Uncategorized | Leave a comment

Today’s Photoshoot

It’s been a while…I know, I really have had the most busy year so far and it is still feeling a lot busy

This week I am taking advantage of a ‘no appointment’ week and photographing everything that I have created for my shop

Today I photographed this little lot

yesterday I photographed even more than this but they need editing

Tomorrow I will photograph all my bags…I have so many and there will be some exciting bargains to be had as I need the space!! (so I can make more bags lol)

This one is proving popular

It’s a small cross body bag that is slim enough to wear under a jacket without making you look a funny shape haha

It has a handy card pocket inside

If you’d like me to make you one of these bags then do get in touch

It measures 8" across the widest part and 10" from the top to the bottom

I can also make it right or left handed!

Back to the photos now x

Posted in Uncategorized | Leave a comment

Spinning Singles from a Batt

I just came across this album of photos showing the sequence that I used to create some lovely singles yarn

The last photo tells you how I lightly full them to remove the springiness of the yarn

https://goo.gl/photos/KVBDjwHpbH9rAzsq7

Posted in Uncategorized | Leave a comment